> ## Documentation Index
> Fetch the complete documentation index at: https://leadtrackr.io/docs/llms.txt
> Use this file to discover all available pages before exploring further.
# Create an Account and Project
> Getting started with LeadTrackr is quick and easy. Follow the steps below to create your account and set up your first project.
## Step 1: Log in or Sign up
Go to [app.leadtrackr.io/login](https://app.leadtrackr.io/login).
* If you already have an account, you can log in directly.
* If you're new to LeadTrackr, just enter your email — your account will be created automatically.
## Step 2: Create a New Project
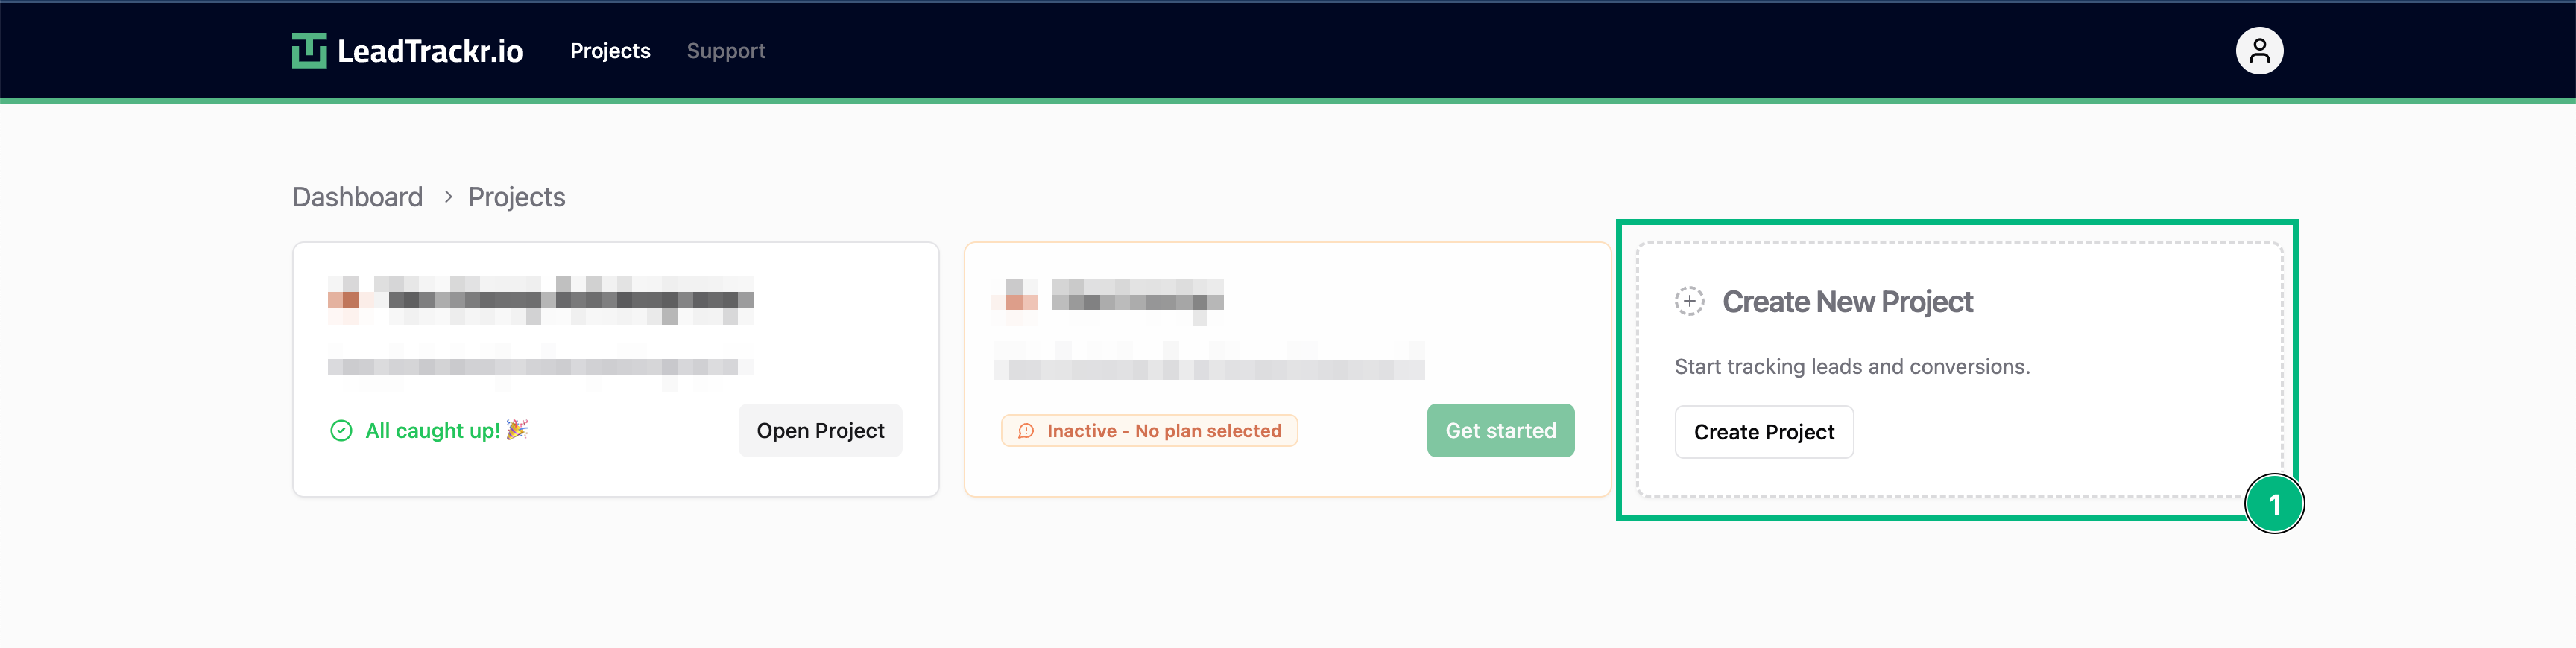
If you're logging in for the first time, you'll automatically be taken to the **Create New Project** screen.
If you already have access to one or more projects, click **Create New Project** from the project overview page.
 ## Step 3: Fill in Project Details
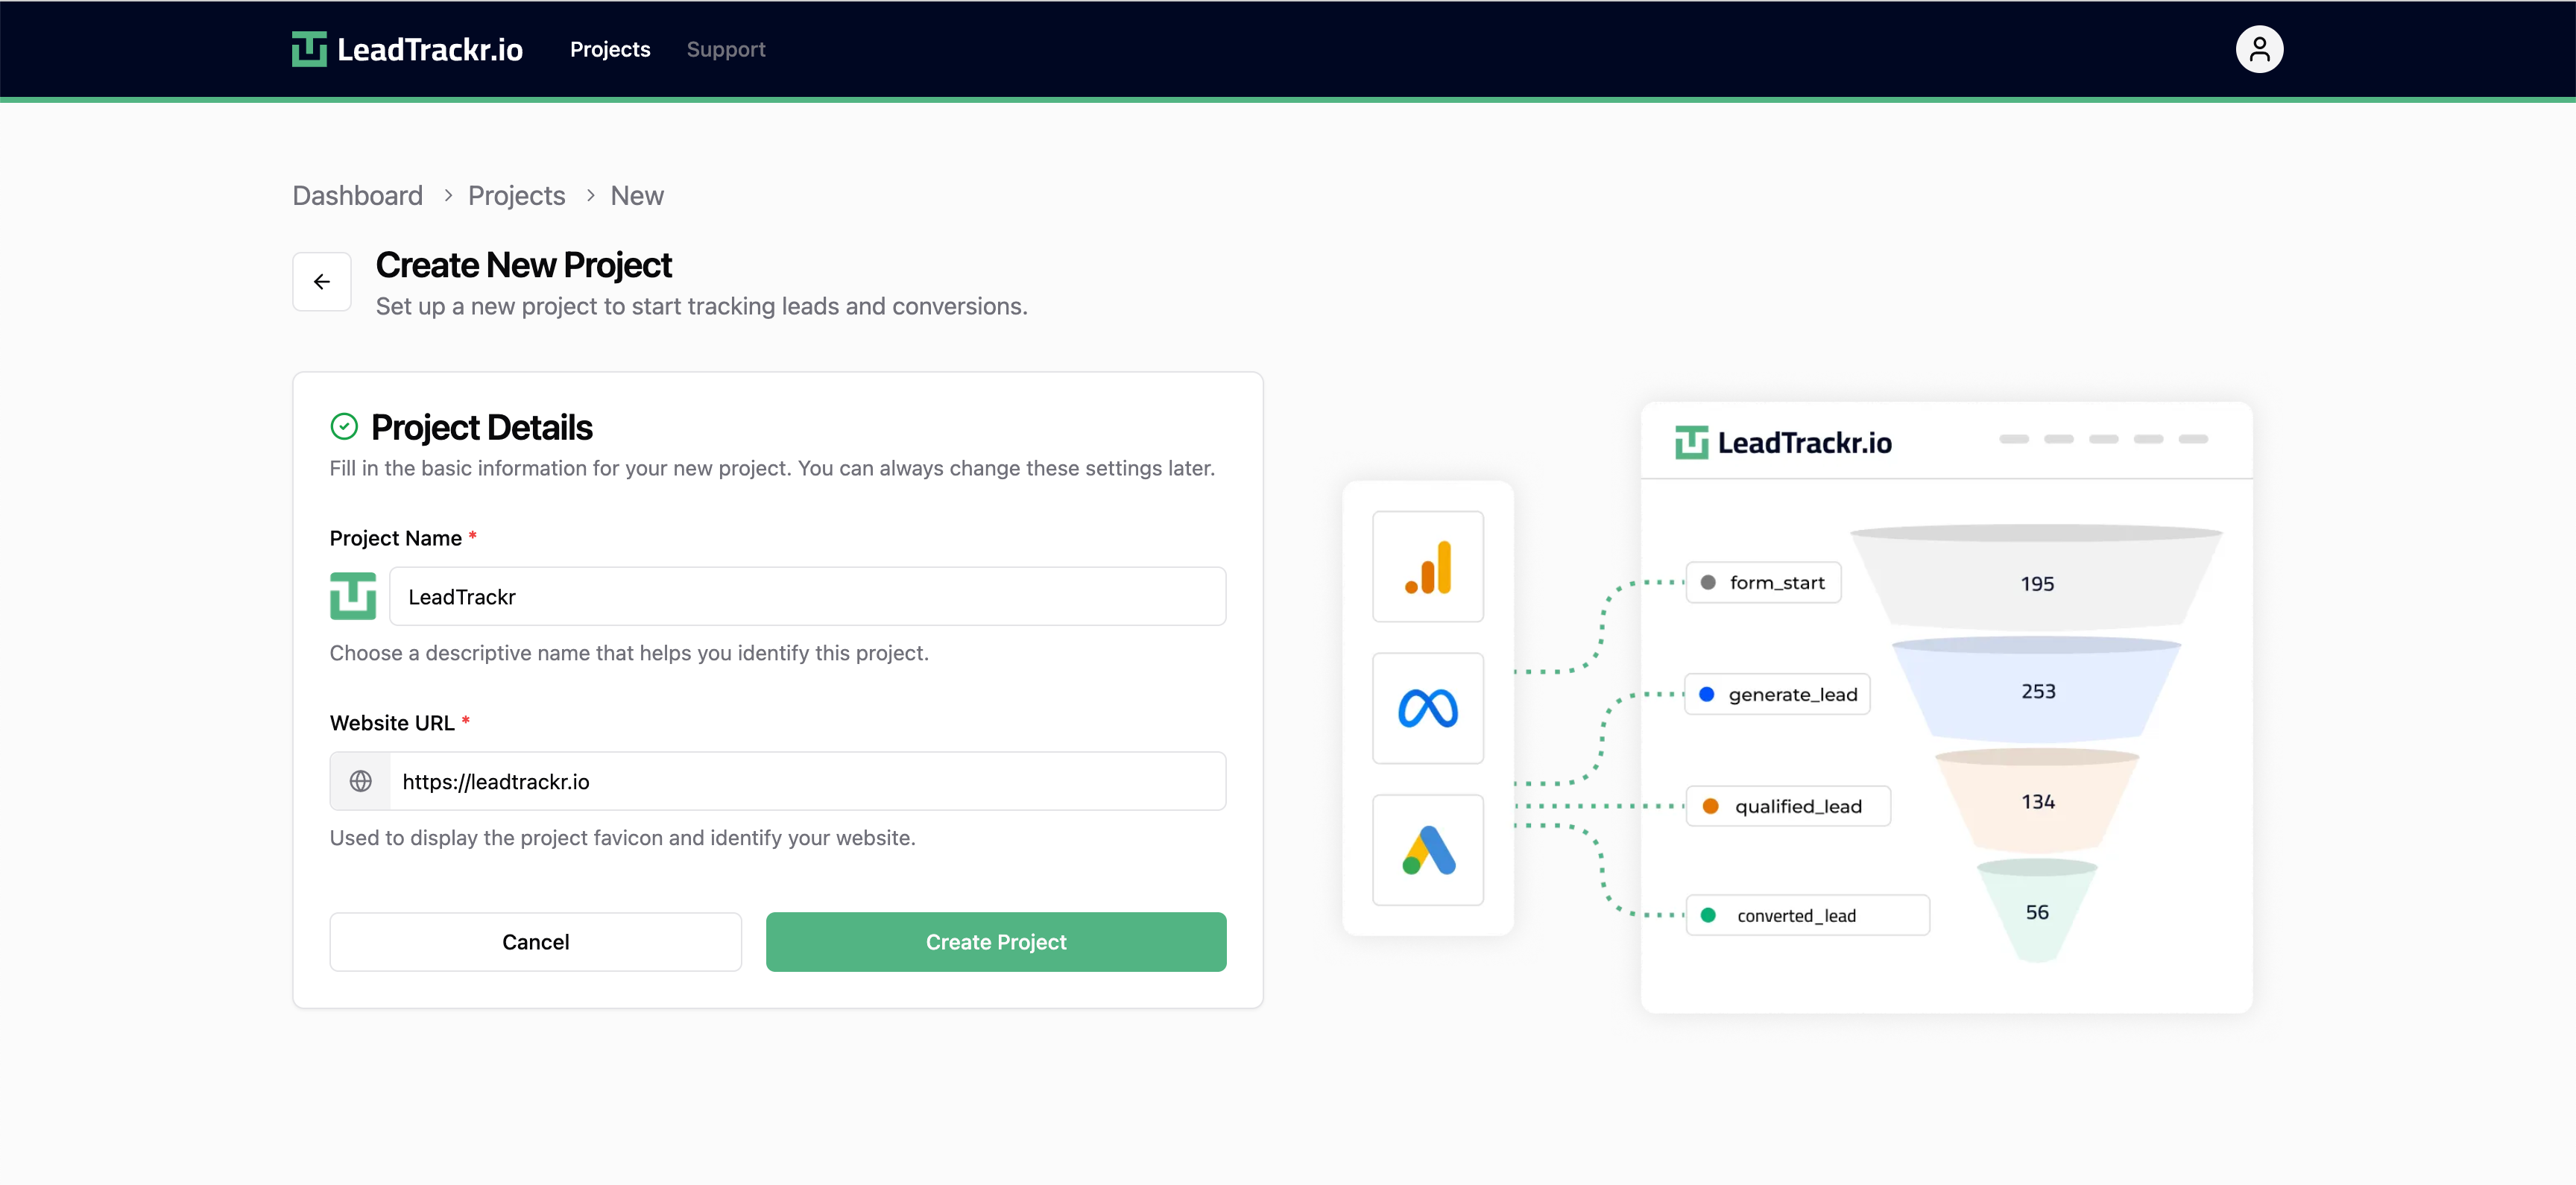
Enter the following information:
* **Project name** (e.g. the company or client name)
* **Website URL** for this project
## Step 3: Fill in Project Details
Enter the following information:
* **Project name** (e.g. the company or client name)
* **Website URL** for this project
 ## Step 4: Choose a Pricing Plan
Next, choose the pricing plan that fits your needs.
Once you've connected a **payment method**, your project will be created, and you're ready to start tracking and rating leads!
## What's Next?
Now that your project is created, you can [add members to the project](/docs/getting-started/add-members).
## Step 4: Choose a Pricing Plan
Next, choose the pricing plan that fits your needs.
Once you've connected a **payment method**, your project will be created, and you're ready to start tracking and rating leads!
## What's Next?
Now that your project is created, you can [add members to the project](/docs/getting-started/add-members).